To Fondant Or Not To Fondant
The look of fondant oozes perfectionism and can be intimidating to at-home chefs. We want to let you in on a little secret—it's not as hard as it looks, you can do it! But WHY, you ask, should I attempt to master this new skill?
Forgiving and Sturdy
Fondant allows you to smooth over cake imperfections and provide a sturdy base to your decor.
Customizable and Versatile
A fondant topping is a creative tool that can be (and hold) any color and shape.
Preservable
Make your fondant in advance or store unused fondant for your next project without compromising quality.
Time-saver
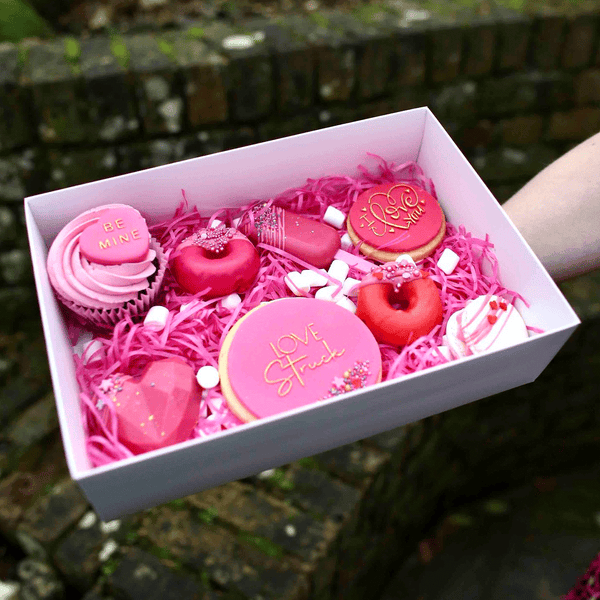
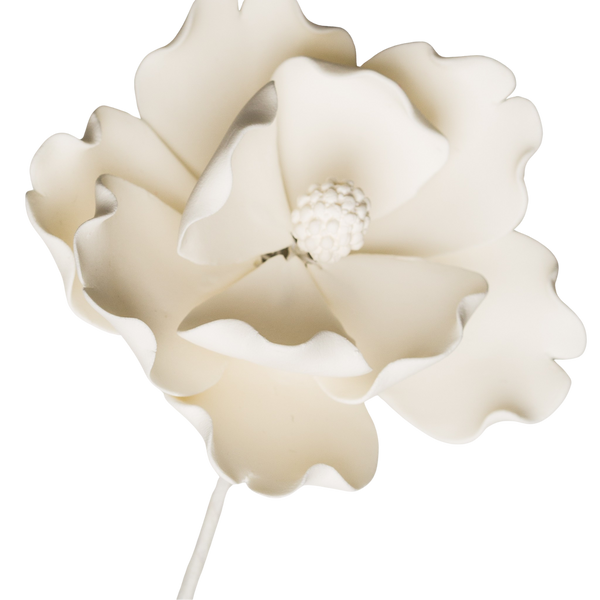
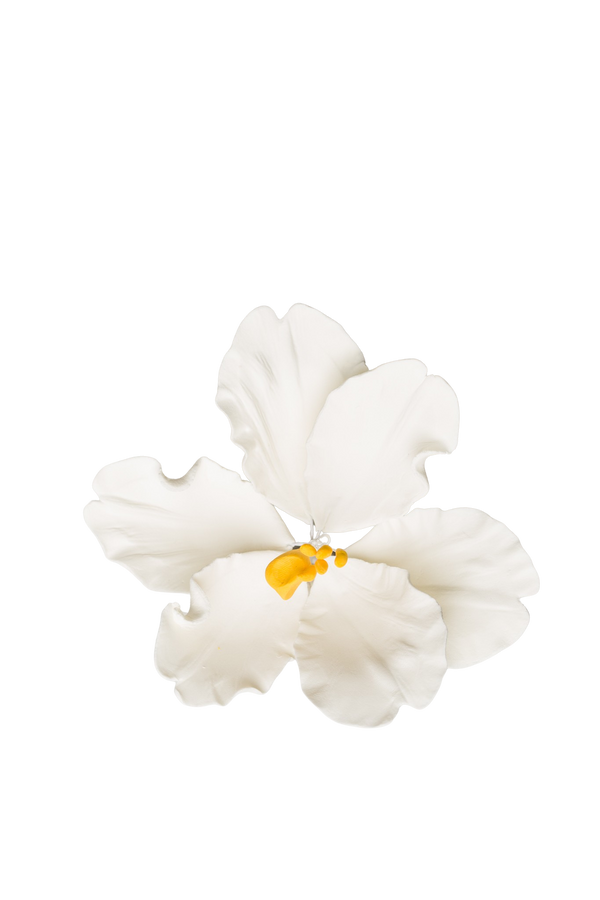
Want a custom cake but short on time? Start with a grocery store-bought cake, add a layer of fondant, and top with WholeSale Sugar Flowers for a unique and customized look
Step outside your comfort zone and give fondant a try; you won't regret adding this creative skill to your baking toolbox. Start with a small cake for practice and gradually work your way up to larger projects. Accessorize your fondant with WholeSale Sugar Flower designs (and don't for get to tag us to show off your success!)
MARSHMALLOW FONDANT
Fondant is a beautiful base, a clean slate and the start to a gorgeously decorated cake. This fondant can be colored or molded, so feel free to customize this recipe to fit your style and decor! Fondant can also be made in advance (storing instructions below).
INGREDIENTS:
- 4 tablespoons of water
- 16 ounces mini marshmallows
- 1 teaspoon shortening
- 32 ounces powdered sugar
- icing color (if preferred)
INSTRUCTIONS:
- Place the first 3 ingredients (water, marshmallows, shortening) in a microwaveable bowl.
- Microwave for 25 seconds.
- Stir until mixed well, microwave for another 20 seconds (repeat this step until melted and smooth - 3-4 more times).
- Poor into a mixer fitted with the dough attachment (both pre-greased).
- Add 3 cups of powdered sugar and mix, adding the rest in 1 cup increments. You may not need all of the sugar; stop when you reach the consistency of play-dough. It should not be sticky or shiny!
- Continue blending until the dough is stiff to mix.
- Grease your hands and a workspace with shortening and gently knead as you would dough.
- Add coloring if you prefer and continue to knead (plastic gloves may be a good idea!)
- Add more confectioners sugar and re-grease your hands as needed. If your fondant is tearing easily (dry), add water a teaspoon at a time and re-knead.
- Unused fondant can be stored in cling wrap and an air-tight container, out of heat or direct sunlight, for weeks at room temperature.