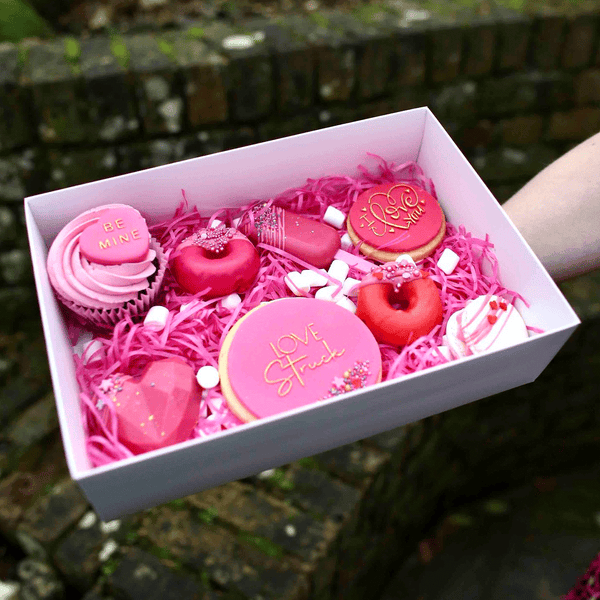
It Wouldn't Be the Holidays Without Dessert
It always seems like November sneaks up on us, which means...HOLIDAY BAKING! Thanksgiving pies, Christmas cakes, Hanukkah cookies are on the menu, and as fun as baking can be, it can be overwhelming too.
The best thing to do is to get organized. Preparation is vital for maintaining your sanity, so start by making a list of the items you want to bake and the ingredients you'll need. Ensure you have enough storage and preparation space and check inventory in your pantry, freezer, and refrigerator - especially your staple ingredients like butter, eggs, sugars, flour, baking soda, and powder. A quick check will ensure that you aren't spending money by buying duplicate items.
Holiday baking offers a lot of opportunities to spend time with family and friends. Having your family and friends involved in the baking can become a special tradition and add a little extra sweetness to your creations. After the job is done, organize a cookie exchange or bring a homemade gift of sweet treats to your neighbors...all in the spirit of giving.
Nothing beats the smell of gingerbread cookies or apple pies. For some added decorating tips for home bakers, keep scrolling...
CAKE DECORATING 101
When it comes to making a cake, baking is only half of the journey. Decorating is just as important. However, if you're new to cake decorating, it can seem overwhelming. Never fear! With this quick guide, you can make your at-home creations look food magazine-ready! Below are some quick tips for turning your blank cake canvas into a masterpiece.
Before you begin, you will need a few tools to make your job easier:
- Rotating cake turntable
- Serrated cake or bread knife
- Offset palette knife
- Pastry bag with tips
- Cake smoother/scraper
First, you will want to freeze your cake when it comes out of the oven. You can even bake the cake one day and freeze it for a few days to break up the process. Frozen cakes make leveling your cakes easier and don't crumble as much when you frost them, making it much more manageable to apply your crumb coat.
Next, you will want to use a cake turntable, a rotating platter to turn the cake while leveling and frosting it. Turning the cake rather than having to walk all around the cake makes the whole process much simpler.
Leveling your cakes is an essential step. The tops of the layers need to be completely flat; otherwise, they can lean or wobble when you stack them. This is where your serrated knife comes in. Your knife should be longer than the diameter of your cake. Begin with the blade at the edge and keep it steady while pivoting the cake on the turntable, using a sawing motion rather than trying to force the blade through the cake.
The next step is to frost the cake, which starts with applying a crumb coat. A crumb coat is the first light coat of frosting that seals and suspends any crumbs so that when you go to administer the final coat, you won't see any crumbs in the frosting. If you're making a layer cake, place the bottom layer on your turntable, spread a layer of frosting to the bottom layer, then arrange the top layer on top (bottom side up). Now apply the crumb coat to the entire cake and chill for 15 to 30 minutes. This allows the crumb coat to set before you apply the final coat of frosting.
Now the real fun begins. Place the assembled layers on the turntable and apply a mound of frosting to the top, spreading it around with your palette knife while you rotate the cake. Do the sides next. It's best to work fast if possible so that everything stays cool. If you want to use a cake smoother (a flat piece of metal with one flat edge and one serrated edge), it will produce a sharper finish than a palette knife. To use a smoother, run the edge along the sides of the cake while rotating it in the opposite direction.
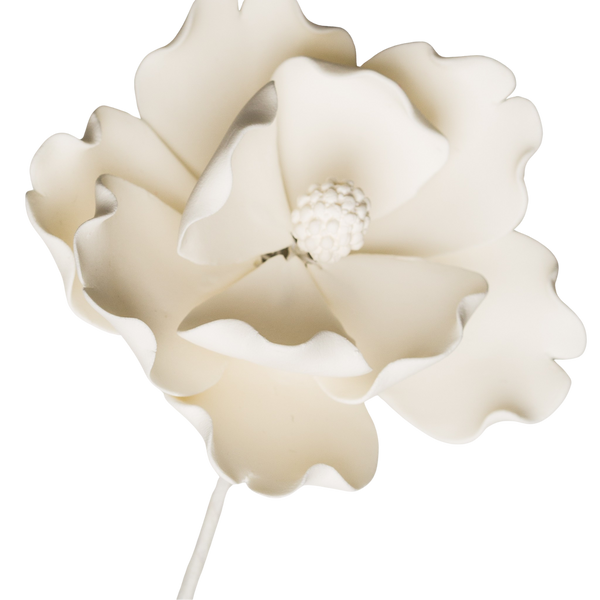
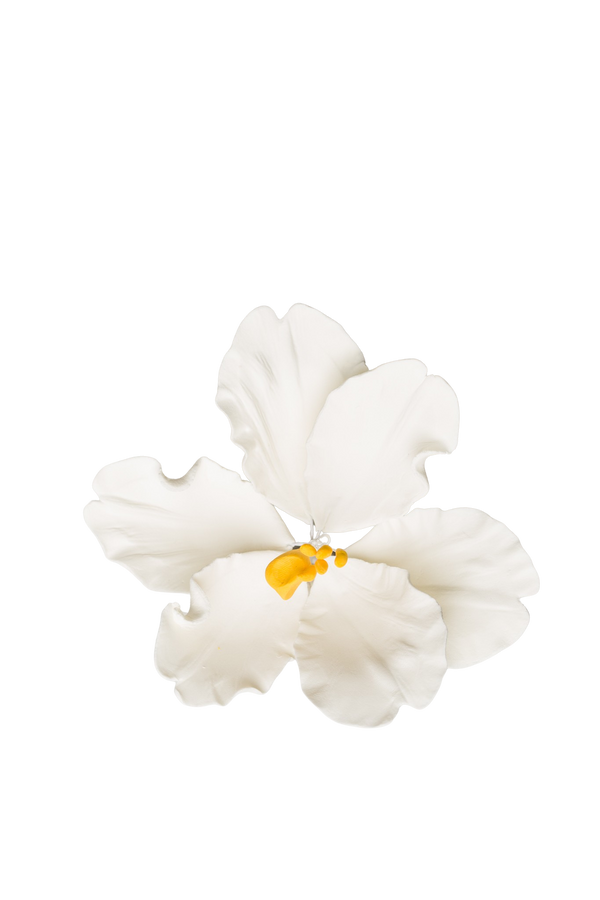
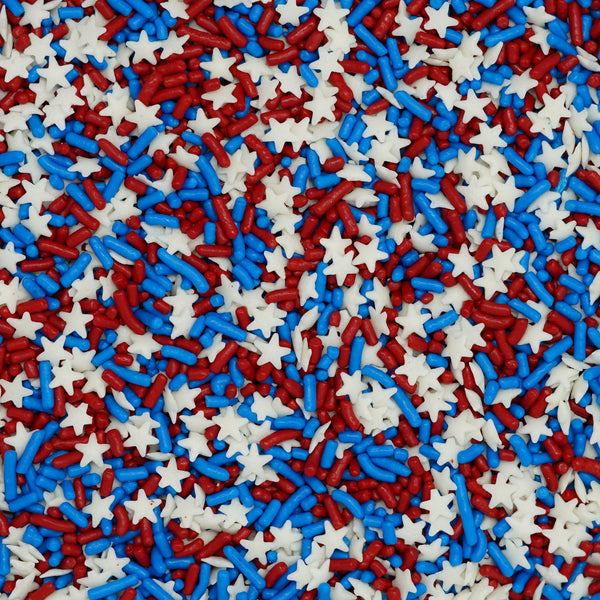
The last step is to add extra flowers, sprinkles, and decor. As a beginner, it is easiest to buy from a supplier like Wholesale Sugar Flowers. These extra touches will make your cake extra special.